
Canva Craft Journal
Canva Craft Pattern Concepts: Check Repeat Edges Before Print
Explore a pattern concept with Canva Craft, duplicate the exact tile to inspect its joins, and check motif scale before using the artwork on a notebook or printed sheet.
Create an image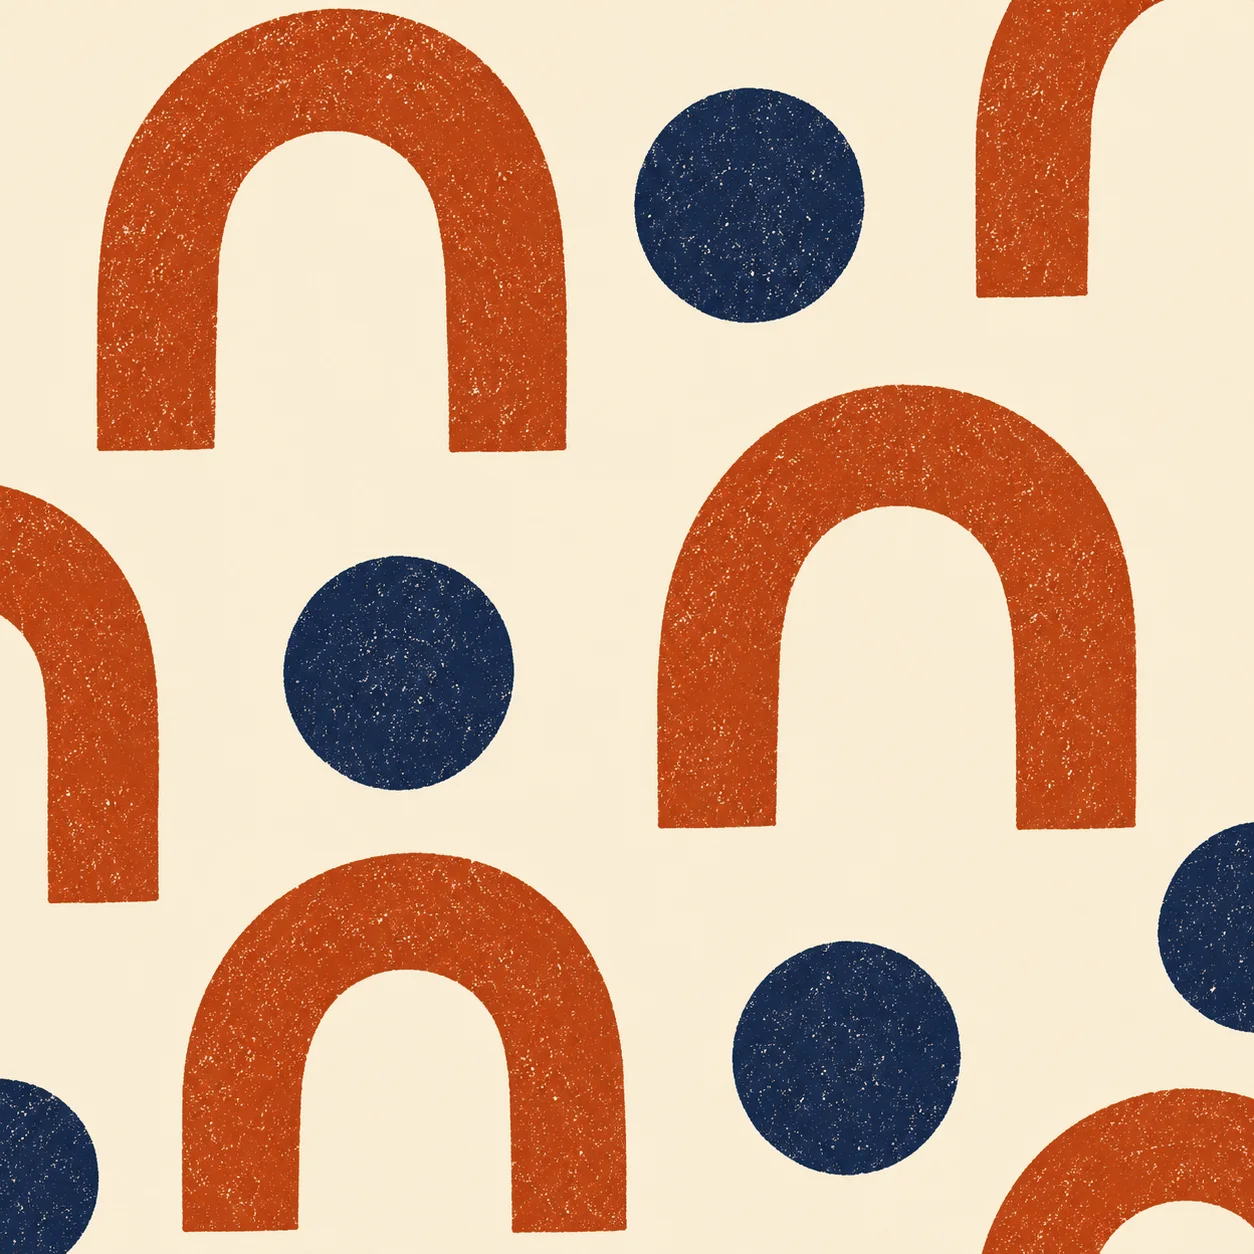
A pattern can look balanced in one square and reveal a stripe or broken shape when repeated. Use Canva Craft to explore the motifs and palette, then duplicate the exact exported square in an editor to check its edges. Approve the repeated arrangement before you apply it to a larger print.
The CanvaCraft image generator can be your starting point for a style concept. Canva’s Craft page lists abstract patterns among its uses and describes planning a composition before rendering. A repeat still needs a separate edge check. This guide uses a fictional notebook design with rust-colored arches and navy circles.
Set the palette, motif size, and repeat goal
Start with a small number of shapes that you can recognize and compare. For the notebook, choose broad arches and circles on a warm cream background. Decide whether the final surface should feel sparse or dense. Keep the initial file square so matching copies can meet along equal edges.
Original editorial pattern concept.
A first brief could read:
Square pattern concept for a notebook cover. Use flat rust-colored arches and navy circles on a warm cream background. Keep medium spacing between shapes, consistent motif scale, and restrained screenprint texture. Arrange the motifs for repetition across opposite edges. Omit lettering, shadows, borders, and product mockups.
The repetition instruction expresses the intended layout. Export the candidate and inspect the joins before treating it as a reusable tile. If the palette or motif arrangement needs work, use the prompt guide to make a focused revision.
Repeat the exact same file in a grid
Make a three-by-three grid in an editor using nine copies of the exported file. Keep every copy at the same size and align the squares with no gap or overlap. Start with the same orientation for every copy. Independent generations would introduce different shapes and prevent you from evaluating how one file repeats.
Inspect the central square first. Its four sides meet other copies, so you can compare horizontal and vertical joins without the outer border distracting you.
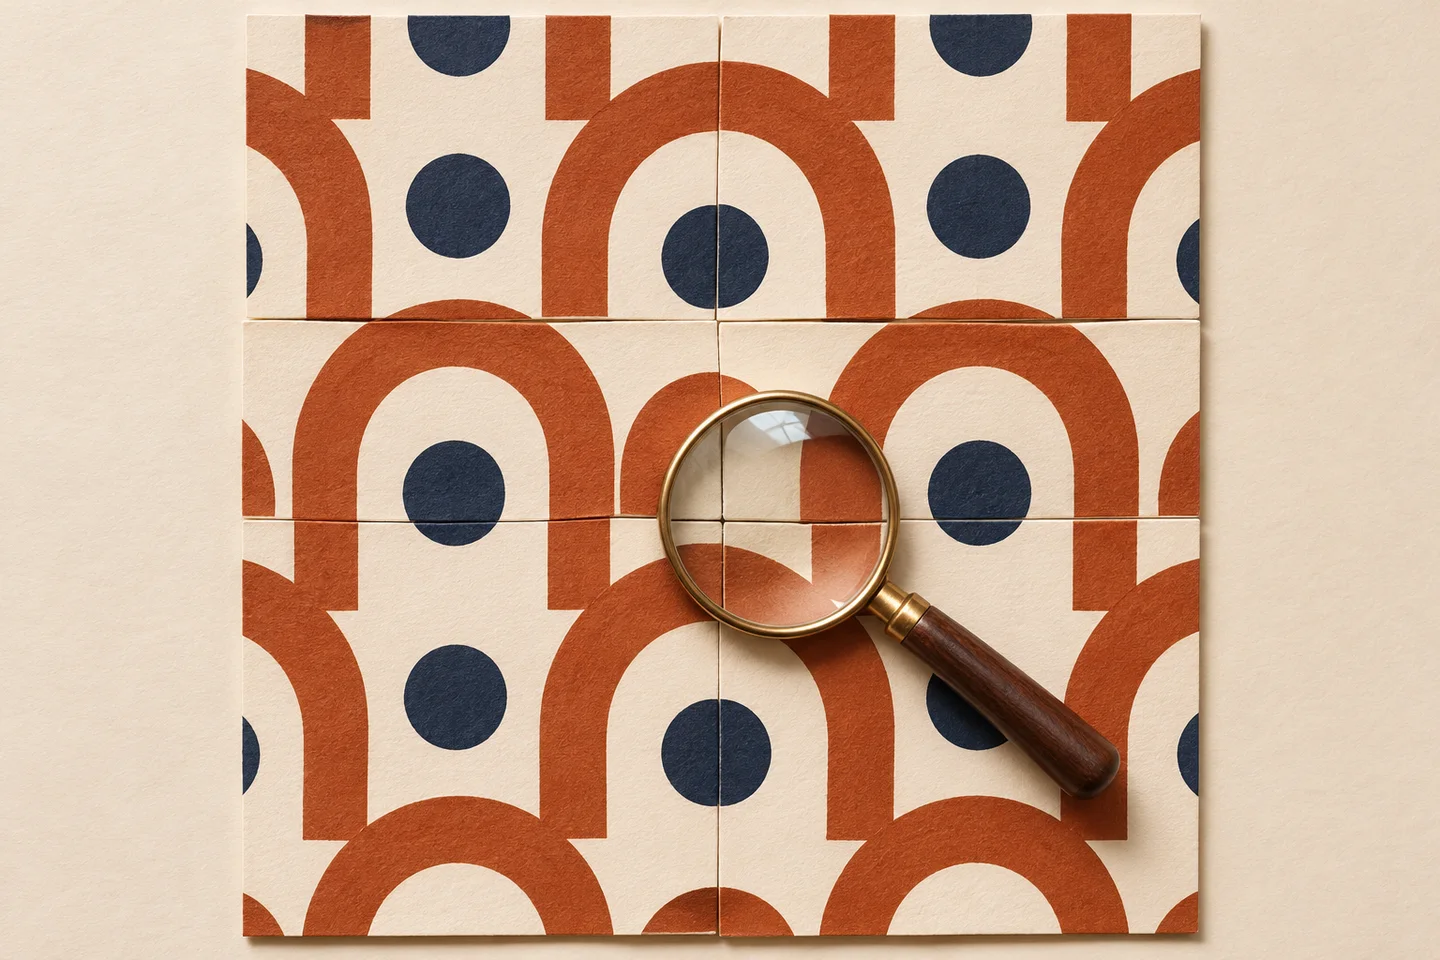
Concept illustration of inspecting joins. This arrangement is illustrative; perform the grid check with your own exported file.
| What you see at a join | What to inspect in the source square |
|---|---|
| A vertical or horizontal stripe | A lighter background band, heavy texture, or excessive empty space near an edge |
| An interrupted arch | Whether the shape exiting one edge meets the corresponding shape on the opposite edge |
| A repeated dark block | A cluster of circles or arches that becomes too prominent when copied |
| A cross-shaped gap at four corners | Whether the corners combine into a larger empty area |
Zoom in to check broken shapes, then zoom out to judge rhythm. A technically continuous edge can still create a distracting row of motifs. If the square contains a gradient or vignette, compare the background tones at opposite edges as well.
Repair the join or use the artwork as a single panel
Keep the original candidate while making a repair. In a pattern or image editor, adjust the opposite edges together and rebuild the grid from the corrected file. Check all four sides again after changing a motif. A repair that improves one join can crowd the neighboring area.
If the edge work is larger than the design needs, use the artwork as one bounded panel on the notebook cover. A solid-color spine or surrounding margin can make that a practical layout. Choose the repeated treatment only after the joins and overall rhythm meet your brief.
Check motif scale on a print proof
Place the approved artwork at the intended physical size. Print a sample or request a proof so you can see how large the arches and circles will appear. Enlarging a tile changes motif size along with the file dimensions. If the shapes look too large, repeat the tile more times across the surface.
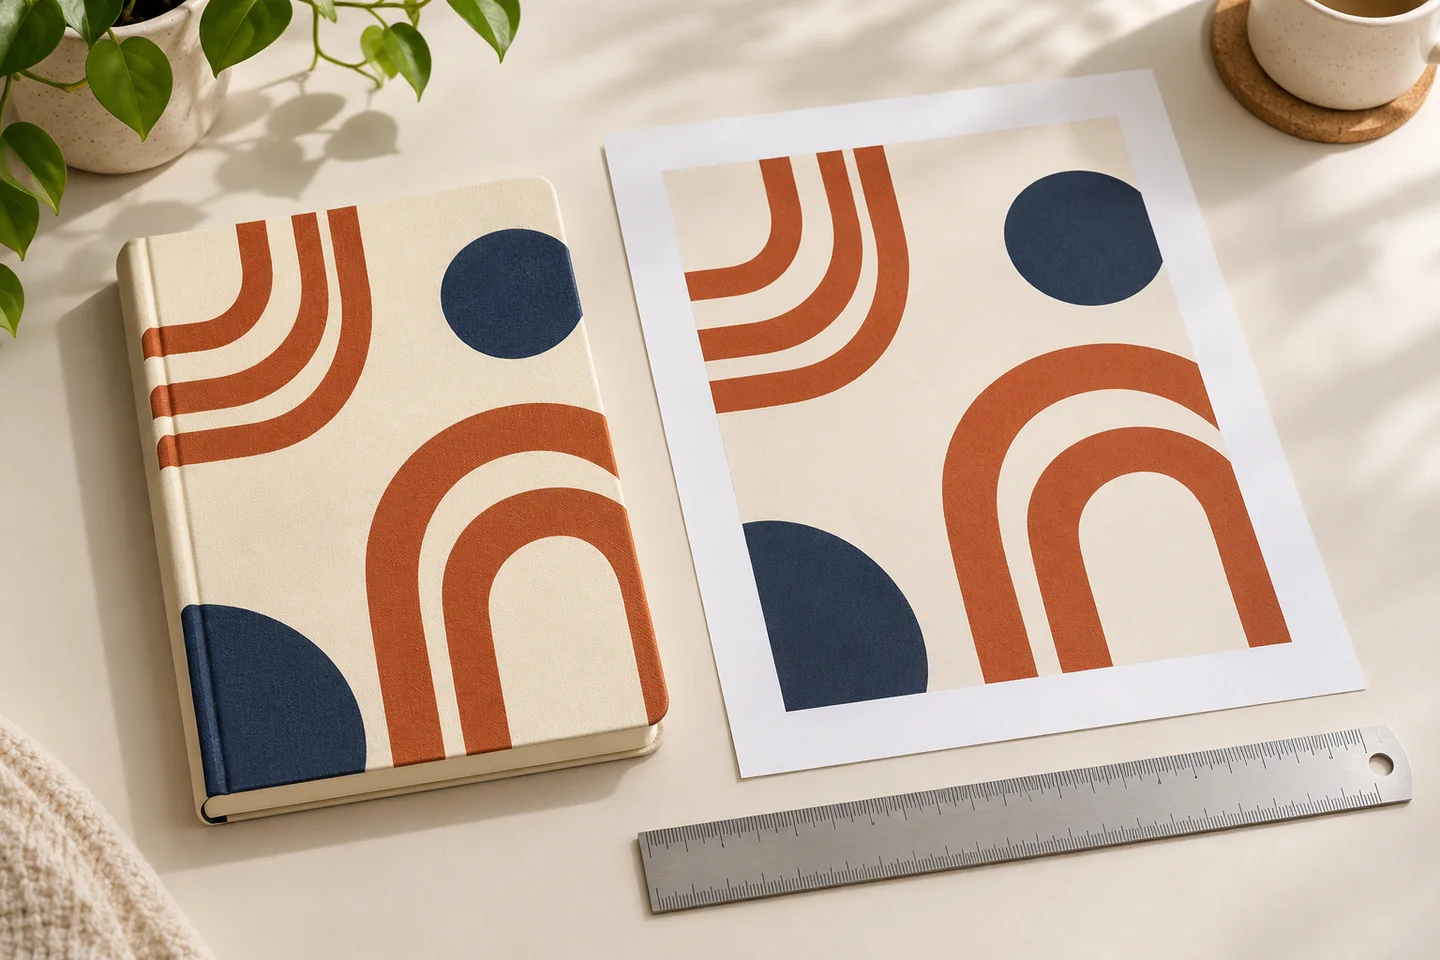
Editorial illustration of checking the intended use and physical scale.
Confirm dimensions and production requirements with the printer. Use the aspect ratio and resolution guide to evaluate the pixels available at that size. Save the original concept, repaired tile, grid proof, and final layout separately, with a note identifying which file passed the repeat check.
Put your next idea into practice.
Start with a written brief in the image workspace.