
Canva Craft Journal
Canva Craft Product Cutouts: Check Edges Before Export
Turn a product photo into a reusable transparent PNG with CanvaCraft. Learn how to prepare the source, check handles and halos, and verify the exported cutout.
Create an image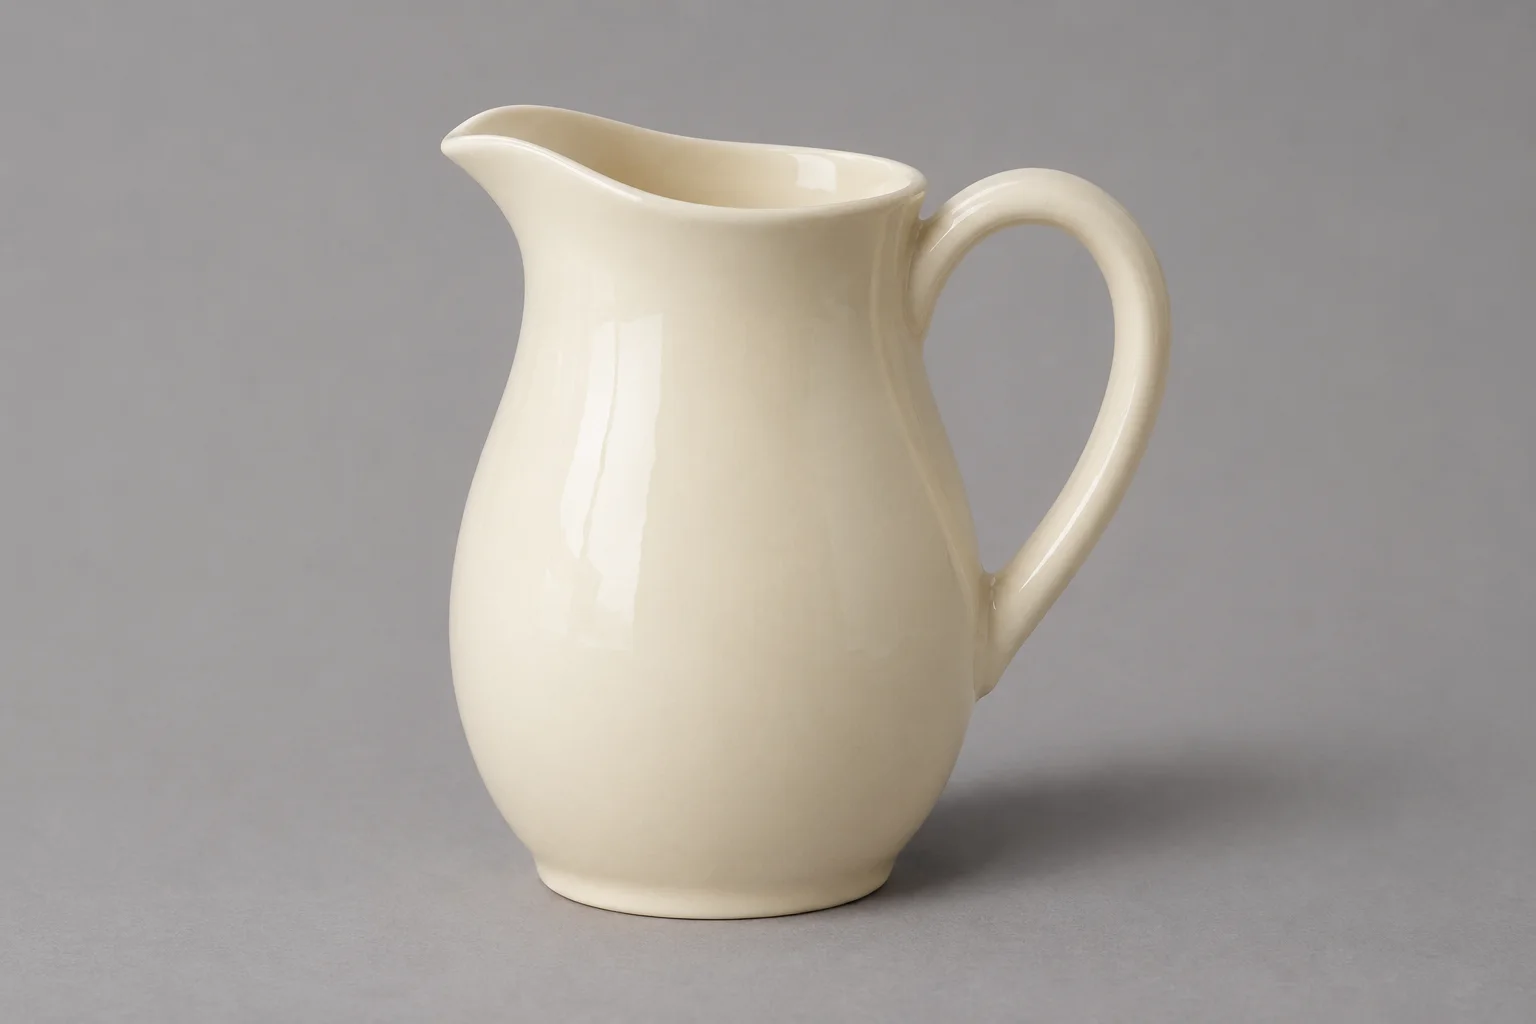
A useful product cutout keeps the item's shape, finish, and small details intact when you put it on another background. Start with a clear photograph, remove the background, then inspect the exported file on both a light and a dark color before using it in a listing or ad.
The CanvaCraft background remover accepts JPG, PNG, and WebP uploads and offers a PNG download. This guide uses a fictional ceramic pitcher to explain the workflow. The illustrations are editorial concepts; they are not results from running the remover.
Start with a photograph that shows the whole product
Choose an approved source photo with room around the object. The rim, base, and handle need to be inside the frame. If the handle is already clipped, a background remover cannot recover the missing part. A sharp photograph with a visible separation between object and backdrop also gives you a clearer reference for judging the result.
For a cream pitcher, a medium gray backdrop is a better starting point than a white surface that merges with the rim. Keep the source file untouched and make a separate working copy if you need to crop out unrelated props. Leave enough room to see the bottom edge. If you are shooting a new source, the product photography brief offers practical lighting and framing ideas.
Original source-photo illustration. The pitcher is fictional; this is not a tool screenshot or a test input.
Remove the background and inspect the preview
Open the background remover, sign in if prompted, and upload the working copy. Run the removal and compare the preview with the original before downloading. Start with the largest boundary problems: a missing handle, a cropped base, or an extra prop. If the main outline is wrong, fix that before worrying about a faint fringe.
The opening inside the handle is a separate boundary. The ceramic loop should stay visible while the space inside it reveals the new background. Check the inner and outer edges independently. Inspect the rim in the same way, especially if the original backdrop and the glaze were similar in tone.
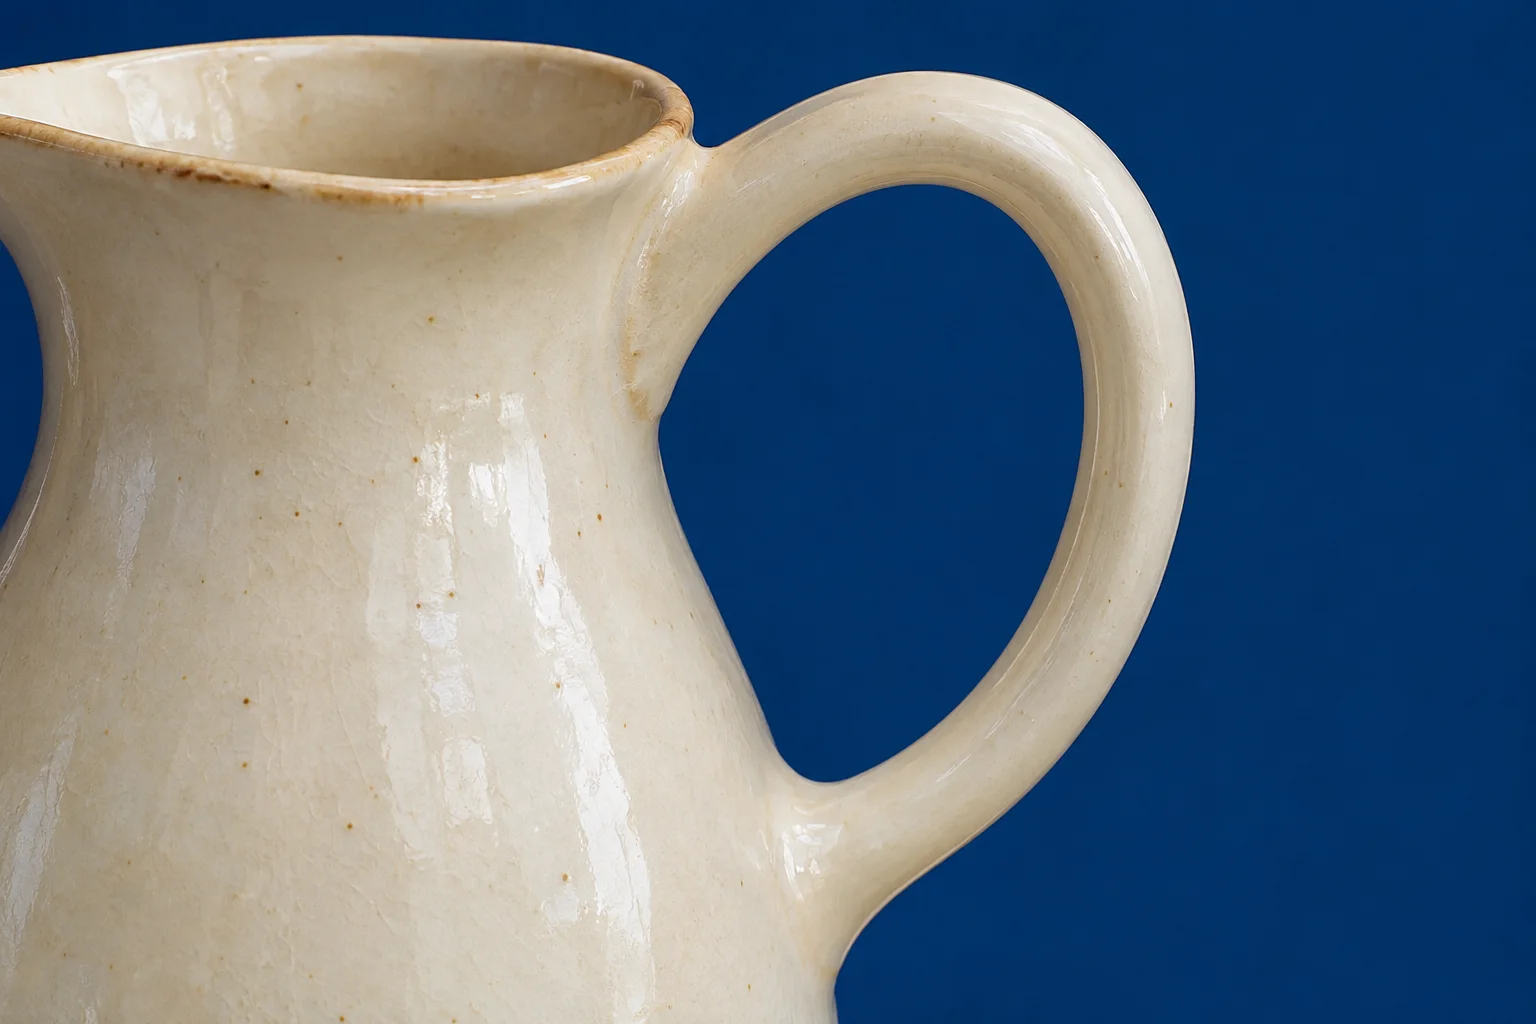
Original edge-inspection illustration. It shows where to look, not an automated mask or a measured comparison.
Check the downloaded PNG on two colors
Use the download control and open the saved file in an editor that can display transparency. Put a white layer behind the cutout, then swap it for charcoal or a dark brand color. The two backgrounds reveal different defects. A light fringe may disappear on white; a dark fringe may be hard to see on charcoal. Also inspect the destination color if you already know where the product will appear.
| What you see | Where to look first | What to try |
|---|---|---|
| Pale line on dark | Rim, shoulder, handle | Try a clearer source or refine the mask edge |
| Old backdrop inside the handle | The entire inner opening | Remove the trapped patch while preserving the ceramic loop |
| Missing strip along the base | Source crop and silhouette | Reprocess from the uncropped original |
| Gray patch beneath the item | Original cast shadow | Decide whether to keep a clean shadow or add a new one in the layout |
| Solid rectangle behind the object | Exported file and layer settings | Reopen the original download and confirm transparency before re-export |
A checkerboard preview is useful, but it does not tell you how an edge will look on the final color. Zoom in to locate defects, then zoom out to the actual display size. A tiny fringe visible only at extreme zoom may not matter for a small card. A clipped handle or altered silhouette matters even at thumbnail size.
Keep the cutout separate from the finished layout
Save the transparent PNG as the reusable asset. Place a copy into the destination layout and add a background or shadow there. This keeps the same cutout usable across a white catalog card, a colored ad, and a presentation. If the destination requires a flat JPEG, export a separate flattened copy and keep the PNG master.
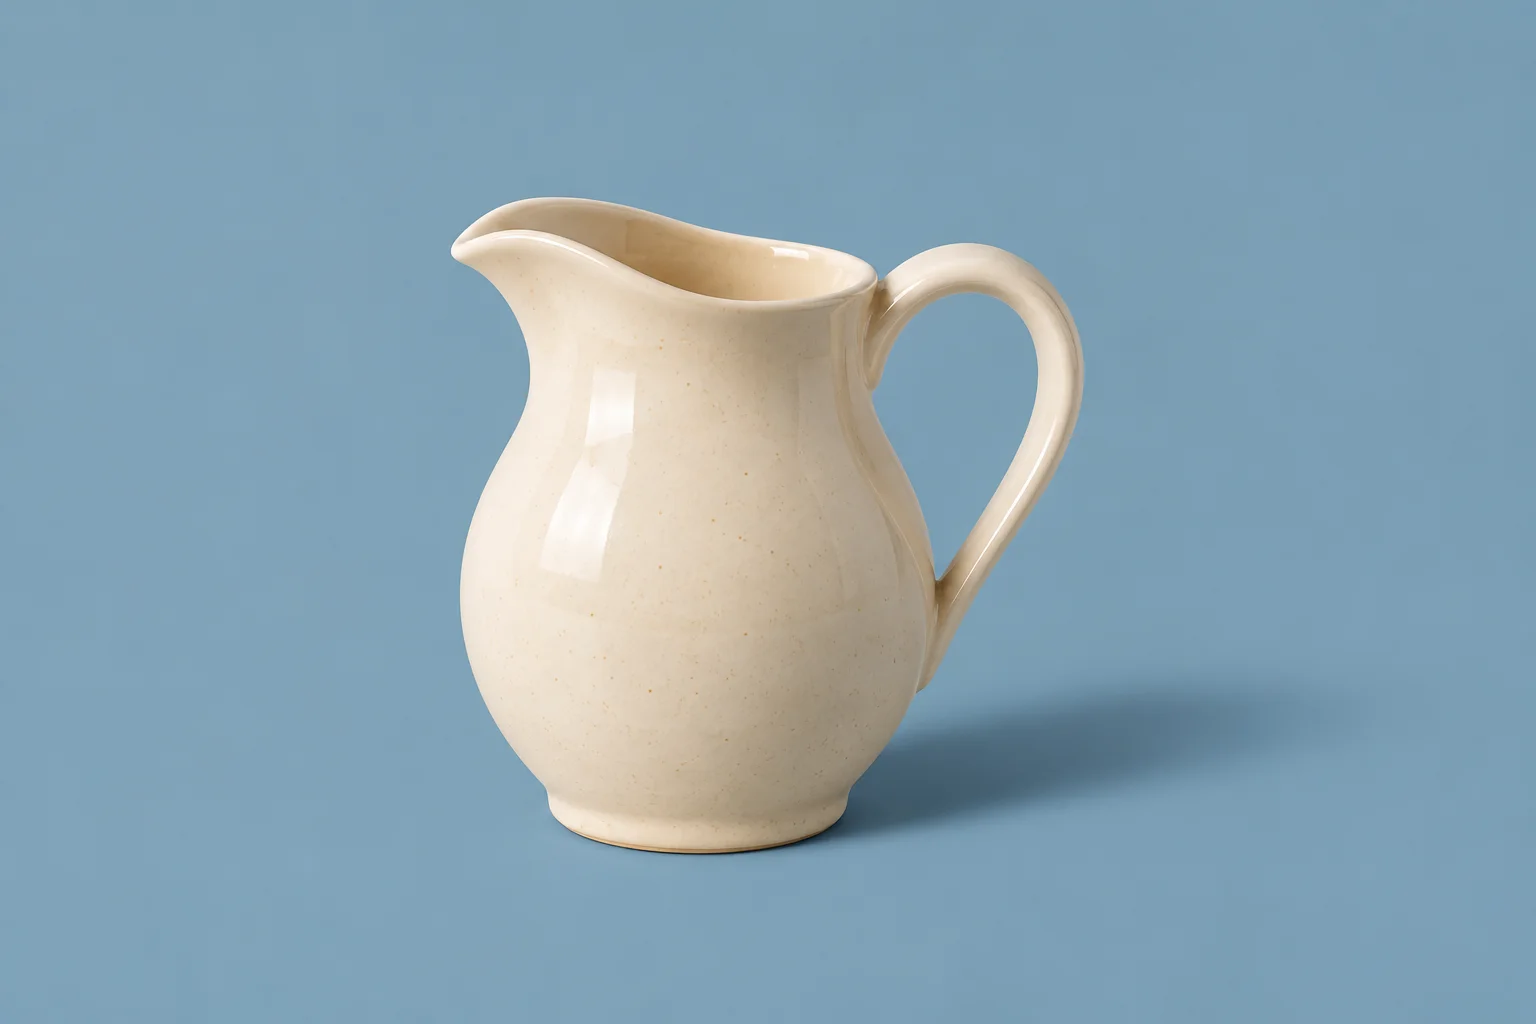
Original layout concept. The blue backdrop and shadow illustrate a design choice, not a background remover result.
Before delivery, reopen the final file and check the product's shape, color, readable details, and spacing against the approved source. Confirm that the transparent master still reveals the layer behind it and that any flattened version has the intended background. If the target calls for a different crop, check the aspect ratio and resolution guide before resizing.
Tool page and download controls checked November 12, 2026. This tutorial describes an inspection workflow; it does not report a measured removal or model test.
Put your next idea into practice.
Start with a written brief in the image workspace.